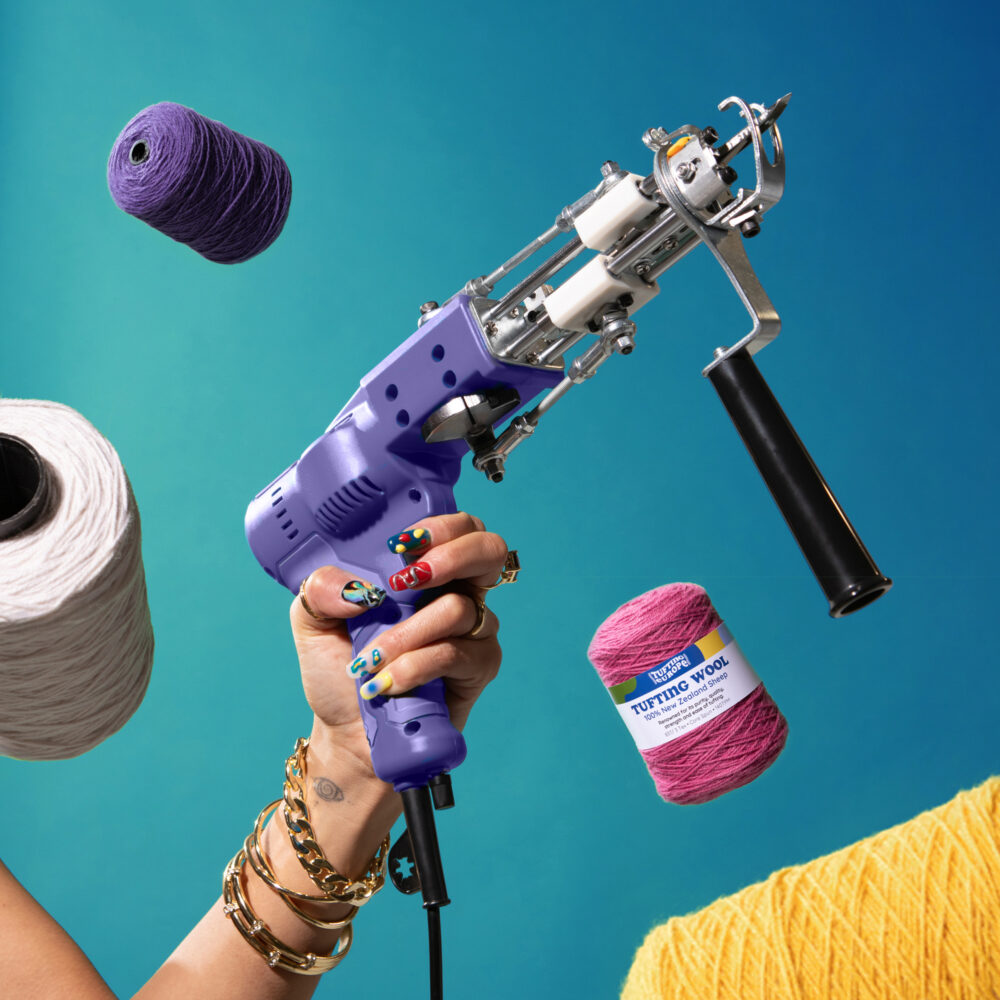
Adjusting your tufting machine for optimal cut pile performance is crucial for ensuring clean, precise cuts and the overall quality of your tufting projects. This guide will walk you through setting up the scissor opener and closer elements, which are vital for the machine’s ability to cut yarn properly.
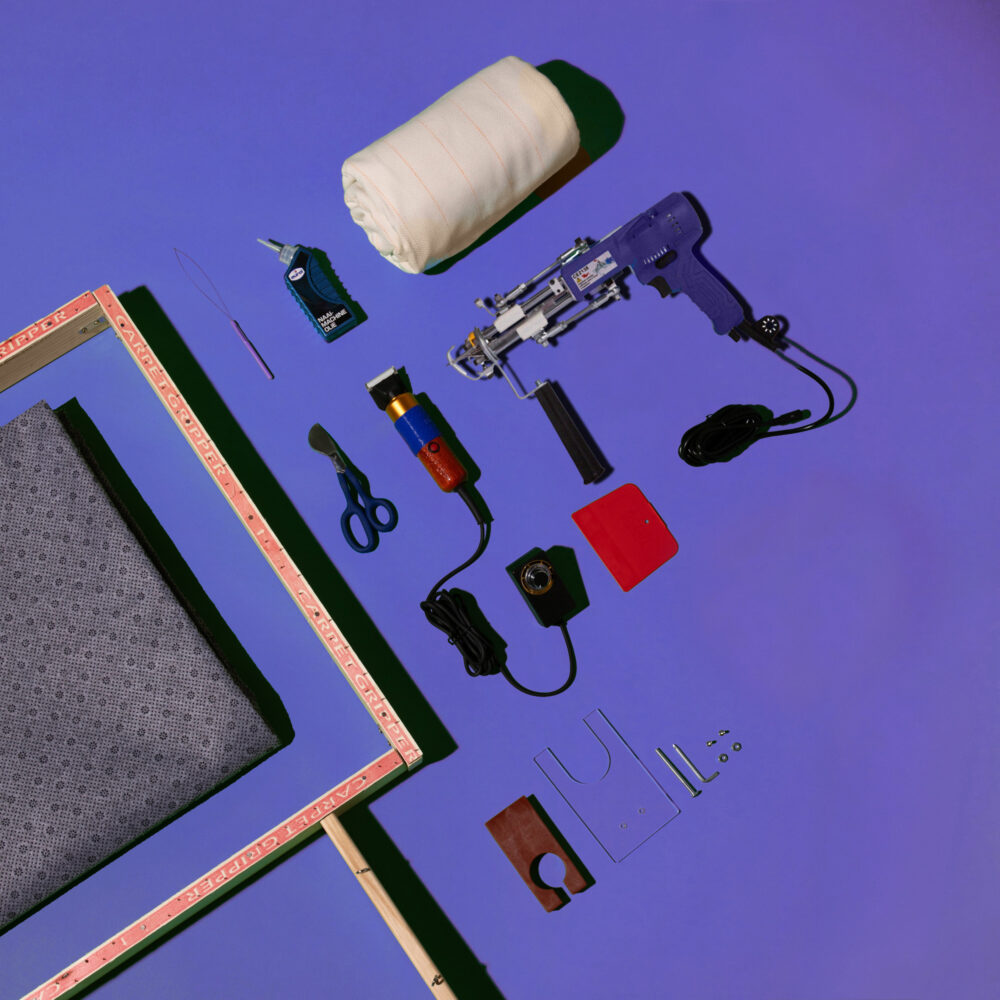
Tools Needed
- A small bag of replacement parts (typically included with your tufting machine purchase)
- A set of Allen keys (also included with your machine)

Step 1: Loosen the Scissor Opener
The scissor opener is responsible for opening the scissors after making a cut. Once the scissor retracts back into the machine it will hit the opener at the end of it’s movement. To adjust it, start by slightly loosening the scissor opener with an Allen key. Loose enough to slide it on the metal bar without the screw falling out.

Step 2: Loosen the Scissor Closer
The scissor closer is a metal element on the right side of the machine that forces the scissors to close when the scissor moves forward, cutting the yarn at the very end of the cycle. Use a Allen key to loosen this part just enough so you can move the metal block inside it for adjustments without completely detaching it.
Step 3: Set the big gear to the back.
Positioning the big gear correctly is crucial for the timing of the cut. You want the gear to be set at what’s described as 6:00 – meaning the screw connected to the gear should be pointing as far back as possible.
Step 4: Set the Scissor Opener Position
With the gear at 6:00, slide the scissor opener element forward until it touches the metal wing on your scissor. Once in the correct position, tighten it to secure its placement. This adjustment ensures that the opener will reliably allow the scissors to open for each new cut.
Step 5: Set the Scissor Closer Position
Now move the big gear to 12:00, so it is pushing the scissor outwards. Then, manually close the scissors with your fingers. Now move the Scissor Closer block inward so it touches the scissor wing. This precise adjustment ensures that the scissor closer will effectively cut the yarn as intended during operation.
Step 6: Testing the Adjustments
After all adjustments have been made, manually rotate the gears with the machine off to observe the operation. The scissors should open as it moves back into the machine, and close/cut as they move forward. This test confirms that the adjustments have been successful.
Conclusion
Properly adjusting the scissor opener and closer on your tufting machine is key to achieving clean, consistent cuts and maintaining the quality of your work. While this process requires a delicate touch and a good understanding of the machine’s mechanics, it’s essential for anyone looking to get the most out of their tufting projects. Remember, patience and precision are your best tools in ensuring these adjustments are made correctly.