Updated: 20 June 2023
We have introduced new starter kits! See the Ultimate and Beginner starter kits here.
Tufting has seen a big increase in popularity since the pandemic, and with good reason—it is a fun artistic hobby that you can do right at home. For some, tufting even opens the path to new careers; many tufting enthusiasts sell their rugs in their local communities. Let’s make a rug!
We’ve written this guide to help you with your first steps, explaining what essential items are needed. After the essentials, we summed up a list of nice-to-haves. Let’s start!
1. Tufting gun
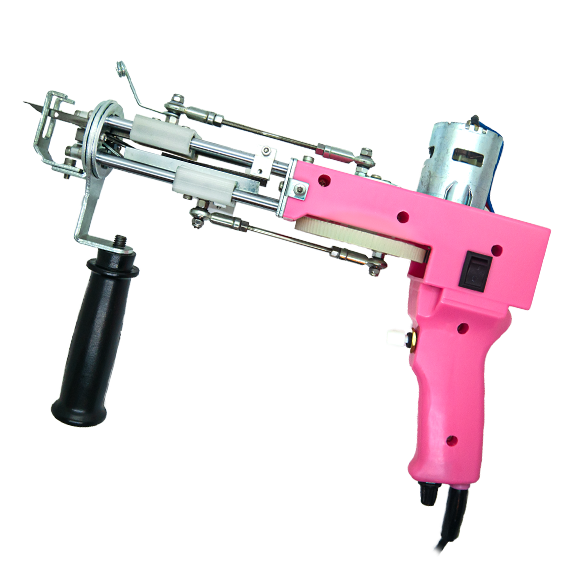
The most essential tool is of course the tufting gun itself, a portable sewing machine that shoots yarn into your canvas.
We have sold several models over the years. The AK-1N is our newest model and we consider it the perfect all-in-one. It has the best features of previous models combined into one lightweight model. We recommend the AK-1N for both first time users and experienced tufters.
The AK-1N is easy to set up and hard to break, both of which are extremely common problems with tufting. It weighs just 1.4kg, making it’s great for longer tufting sessions.
Proper maintenance will keep your tufting gun going for years. The only item that needs replacement after extended use is the scissors, as these will become less sharp over time.
2. Yarn

Yarn is another must have. But it takes a bit of knowledge to know which type you need. There are 3 types of yarn: cotton, wool and acrylic.
- Wool yarn is the strongest, but it costs a bit more. The benefit is that you can create rugs that can take a beating from lot’s of foot traffic, like in a store.
- Cotton yarn is second best, often used in rugs because it can handle wear and tear and is reasonably priced and widely available.
- Acrylic yarn is the least expensive and easy to find, but it doesn’t hold its shape as well as cotton or wool over time. Best for rugs that will not receive a lot of foot steps. And a good choice for rugs that you want to display on a wall.
The thickness of the yarn does not matter as long as you can fit it through the hole of the needle on your tufting gun. We recommend a 3 or 4 ply, and to use two strands of yarn in your tufting gun at the same time. This gives the best results, and delivers a thick line in your backing cloth.
3. Frame
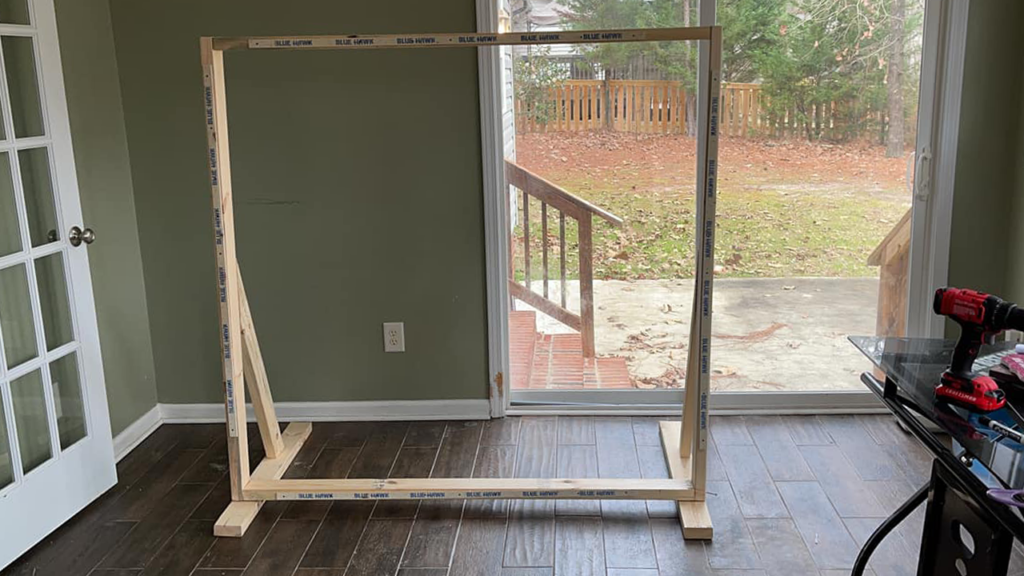
While you wait for your tufting gun to arrive, you can start building your own frame. There are not a lot of rules, but it is good to keep a few things in mind.
When building, make sure that the frame cannot tip over backwards, as you will be pressing into the canvas which gives pressure. This can be achieved by giving the frame some back support like longer legs and support.
We recommend a maximum frame size of around 190cm by 190cm. This gives you a save margin when using our 200x200cm rug backing. You can always go smaller if space is an issue, a 100x100cm frame that you can set up on a table also works great. You can simply cut your primary cloth to fit your frame size.
Yarn feeding system
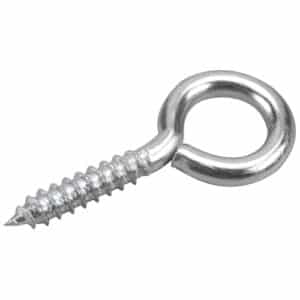
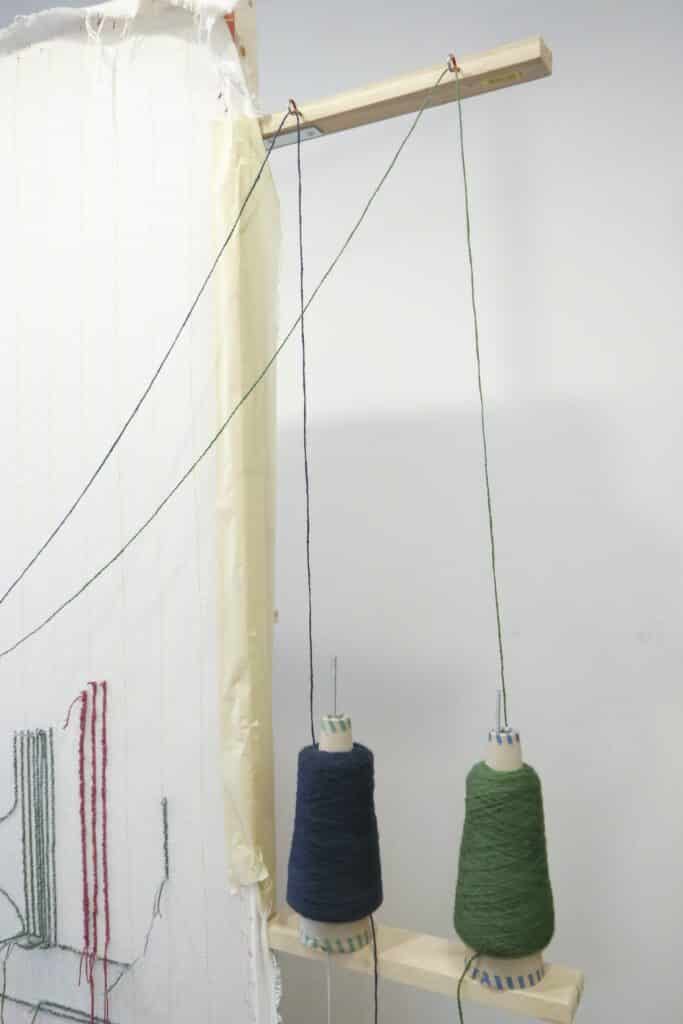
Your frame is not complete without a way for your yarn to reach your tufting gun. For trouble-free tufting, the yarn should flow freely. You can place your yarn feeding system at the top or at the side of your frame by making an eyelet screw yarn feeding system. See examples below.
Frame grippers
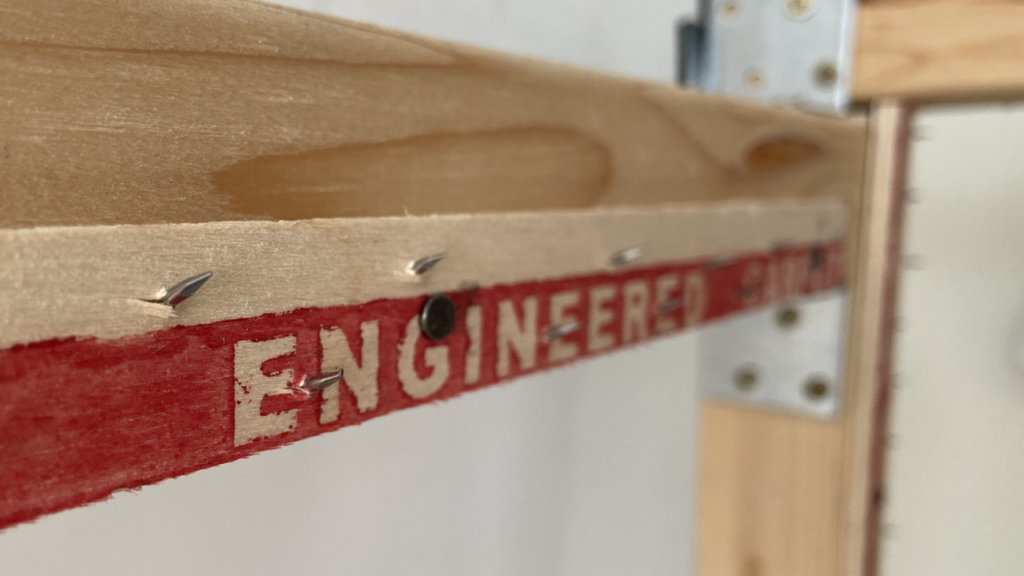
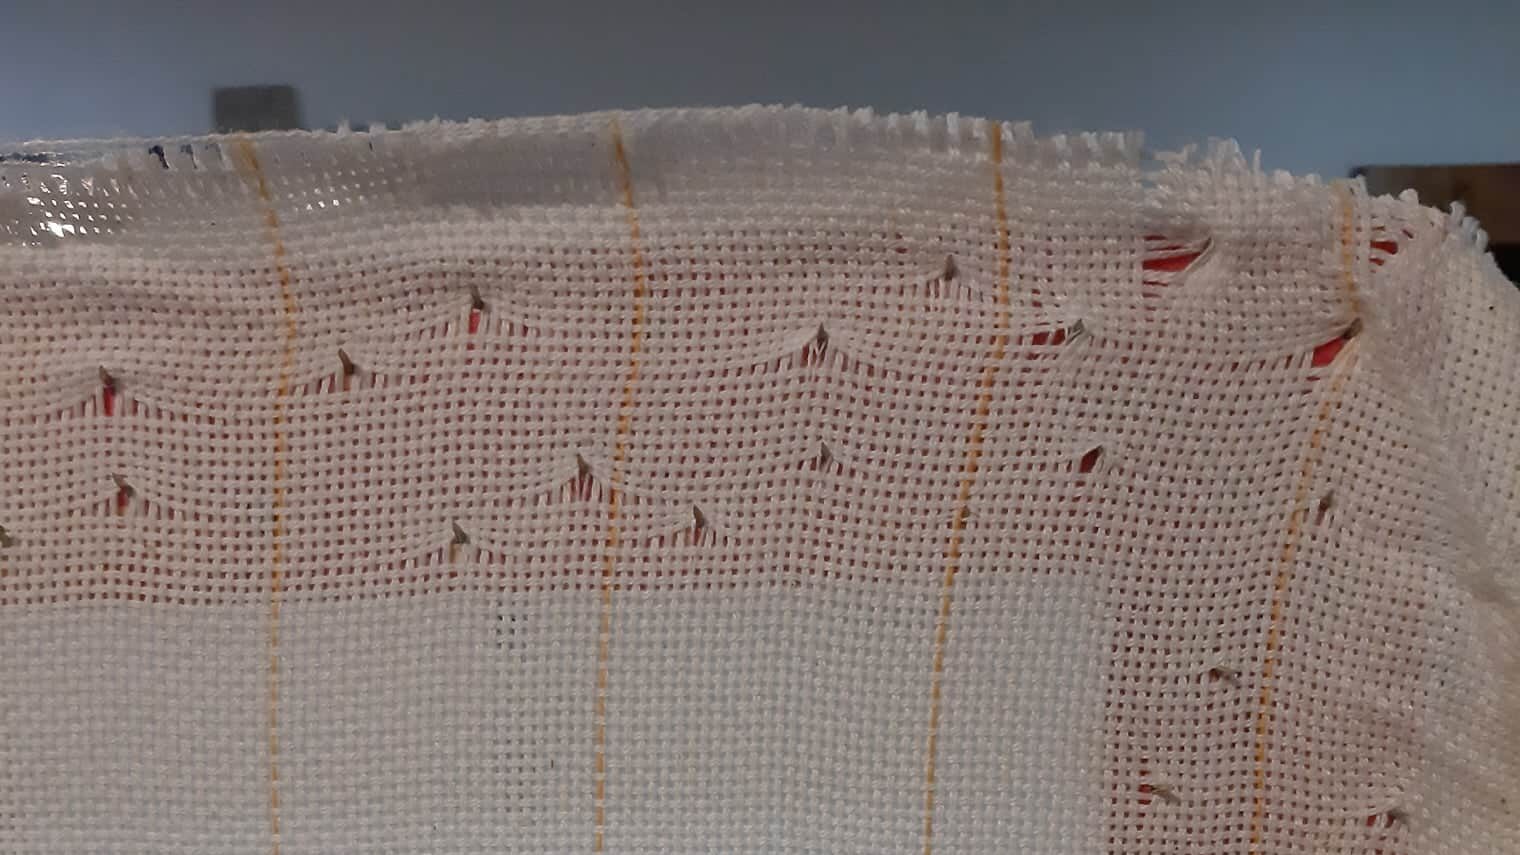
To keep your primary tufting cloth on the frame, apply frame grippers. Also known as carpet tack strips, these ensure that your backing cloth is kept in place on your frame. Frame grippers should be mounted on the edges of your frame with the needles pointing out.
4. Primary tufting cloth
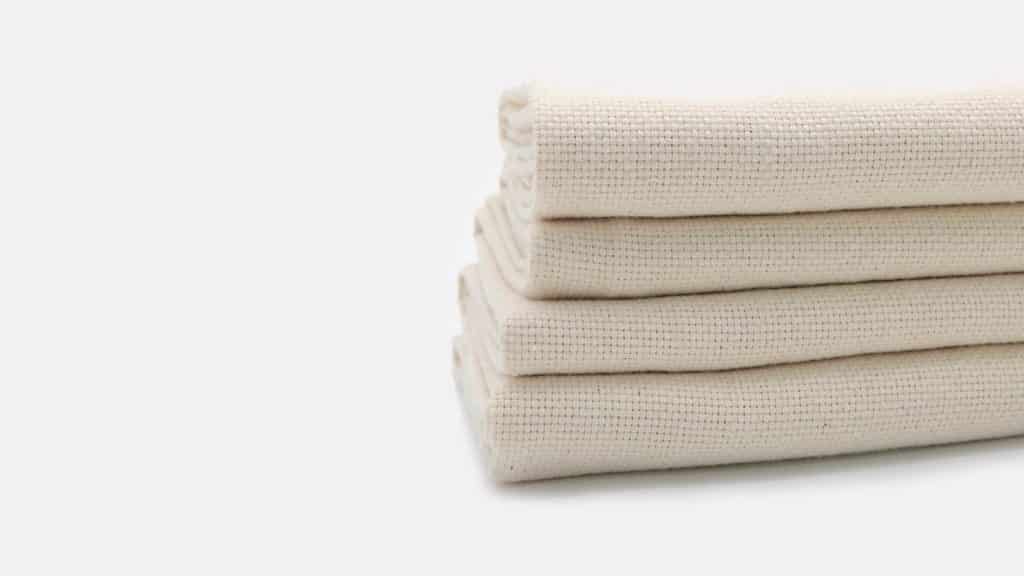
Because of the high speeds and aggressive nature of tufting machines, you need a very specific kind of rug backing. Primary tufting cloth is your blank canvas, the cloth where you will shoot your yarn into.
We offer cloths especially made for tufting guns, it stretches easily and comes with the right size of holes. It also comes with yellow lines every 5 centimeters to help you guide. If you want to practice and not waste any primary tufting cloth, you can try some cheaper burlap.
When placing the rug backing on your frame, make sure it is tight. It should be so tight that a coin will bounce off, drum tight.
When tufting, the cloth will lose its tightness. You can re-stretch the cloth on your frame after a long session if needed. Make sure the yellow lines are still straight and not curvy after re-stretching, so your rug design is not altered.
5. Rug Carving
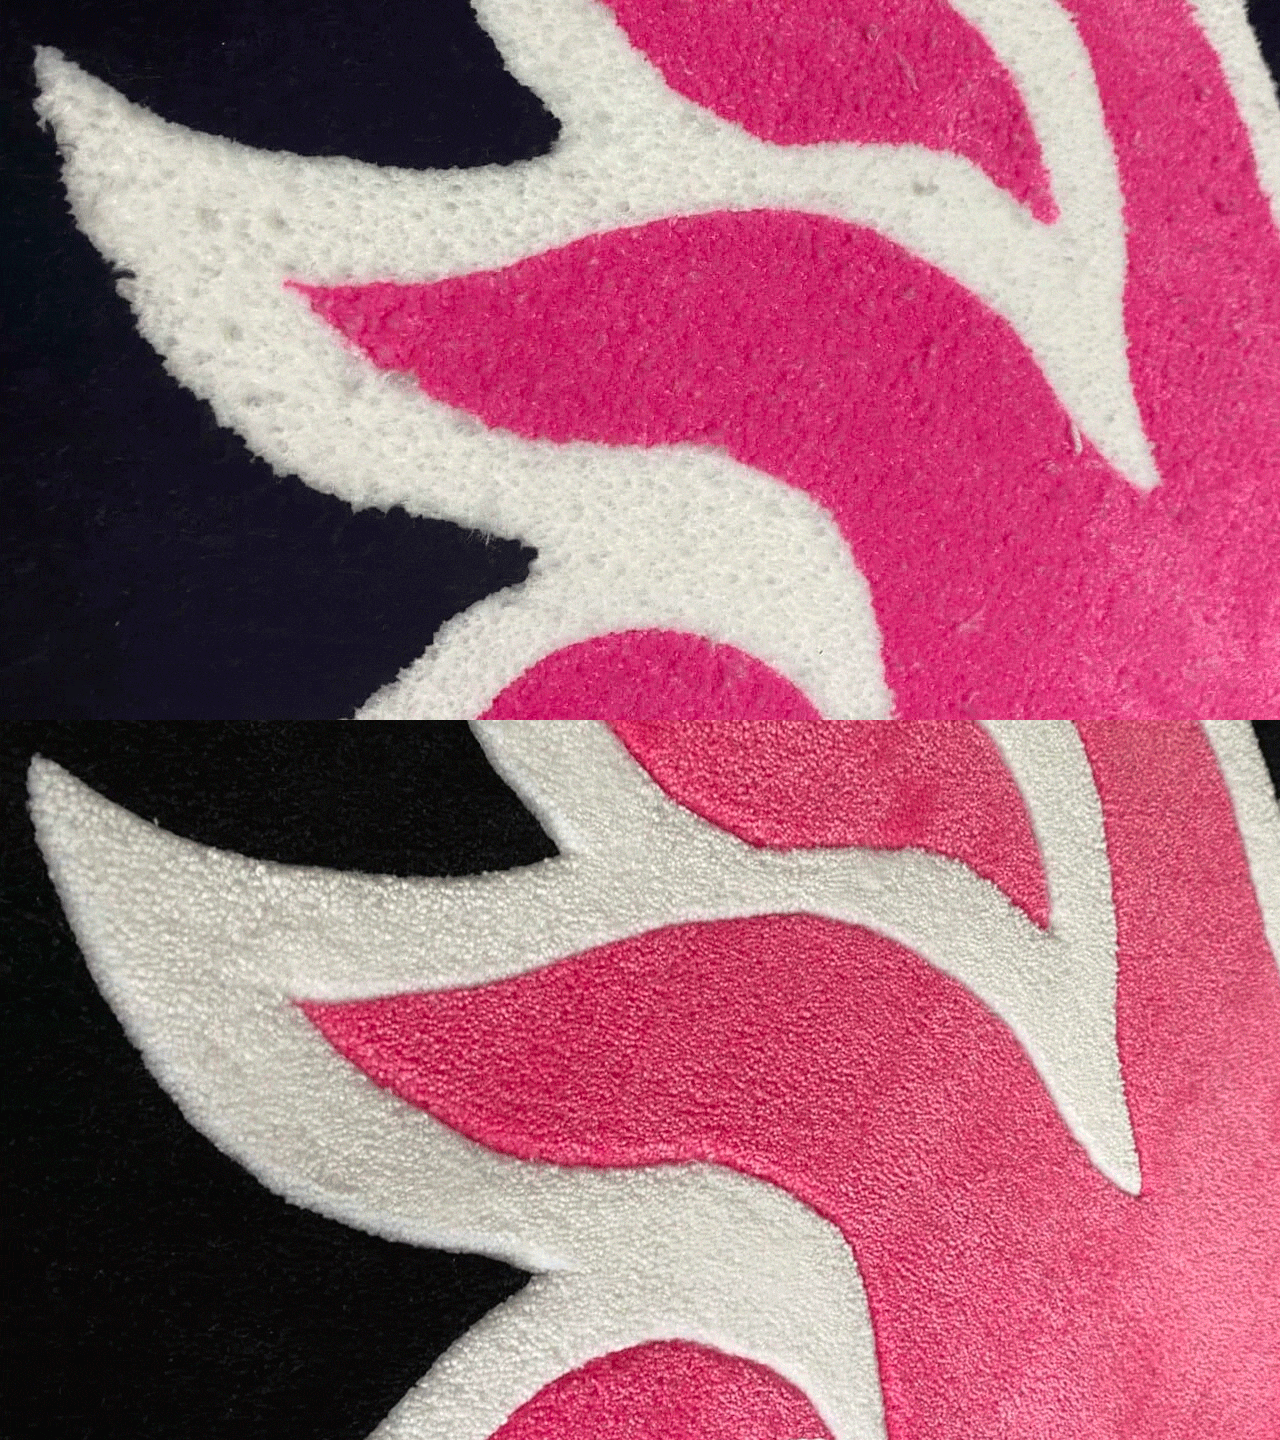
Notice the difference in the image above? After you tuft a rug, it is still a bit rough. Using a technique called carving, you can give depth to edges by shaving along the lines of your design. Perfect for thingsl like letters!
Besides carving, it is always a good idea to give your rug a shave to smoothen and level it out. All this can be done with rug carving carving clippers.
6. Scissors
You need scissors for two situations. First to cut out your rug from the backing cloth, this can be done with regular scissors. Don’t cut to close to your design and keep a margin of around 1 to 2 cm.
Second is when you’re finishing up the rug. We recommend to use Duckbill Napping Shears instead of regular scissors. Duckbill Shears feature a curved handle that keeps your fingers at a distance while the blade sits close on the surface, for accurate and level trimming. Cutting away any loose yarn, or yarn with different heights.
7. Loop Threader
Many new tufters overlook the importance of this small and simple tool. A Loop Threader is definitely on the essentials list and will make tufting easier. When tufting, you need to feed the yarn through a small hole in front of your tufting gun. When using a Loop Threader, you simply pull the yarn through it in seconds. Without it…. it becomes quite a hassle.
8. Carpet glue (Latex)
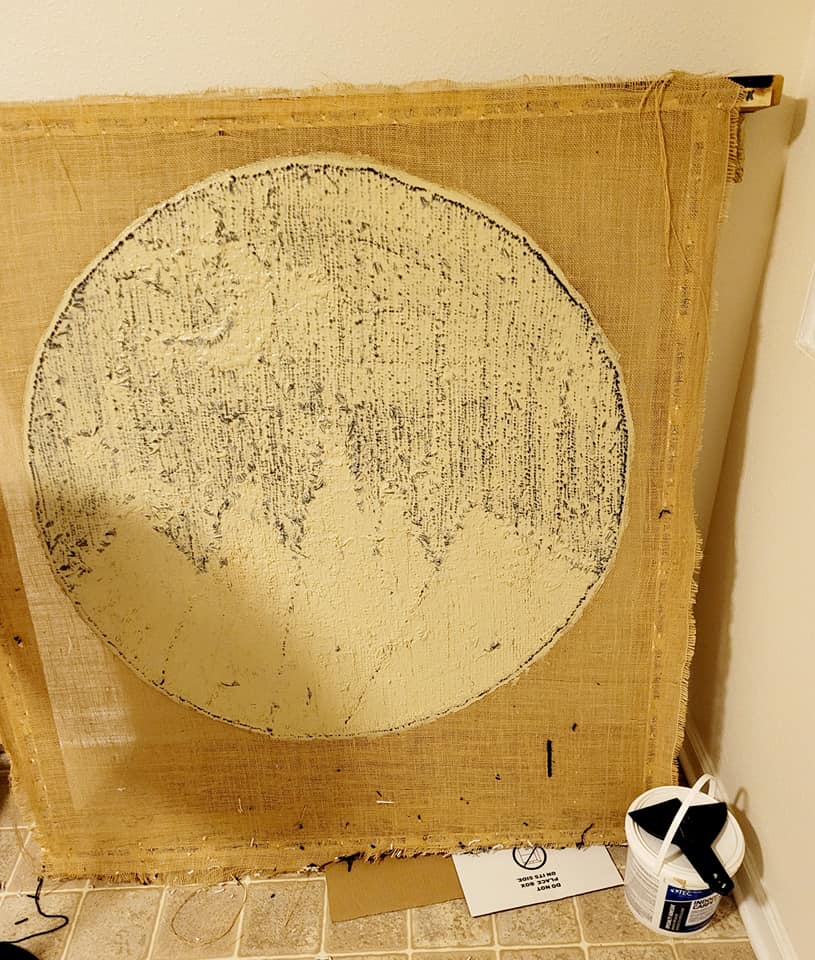
After you are done tufting, you need to glue the back of the rug. Otherwise you can simply pull out pieces of yarn. Typically any carpet adhesive or carpet glue will work. Glue your rug before you cut the rug out, as the yarn is still loose in the cloth. Letting the glue dry while the rug is still hanging in the frame will keep your rug from curling up as it dries.
The general rule is anything that has an adhesive will work. This can include latex paint, matte medium, Elmer’s glue, PVA glue, carpet adhesive, or mask latex. If you’re looking for a more flexible version you need to find a glue with mostly latex.
Keep in mind that carpet glue stinks, and some fumes can be toxic. Let your rug dry in a place well ventilated and read the safety instructions of your glue!
Round-up of gear to start right now
-
 AK-1N Duo Cut & Loop Tufting Gun$228.85
 -
 Rug Shaving & Carving Clippers$67.85
 -
 Primary Tufting Cloth 200x200cm$23.00
 -
 Duckbill Napping Shears$18.40
 -
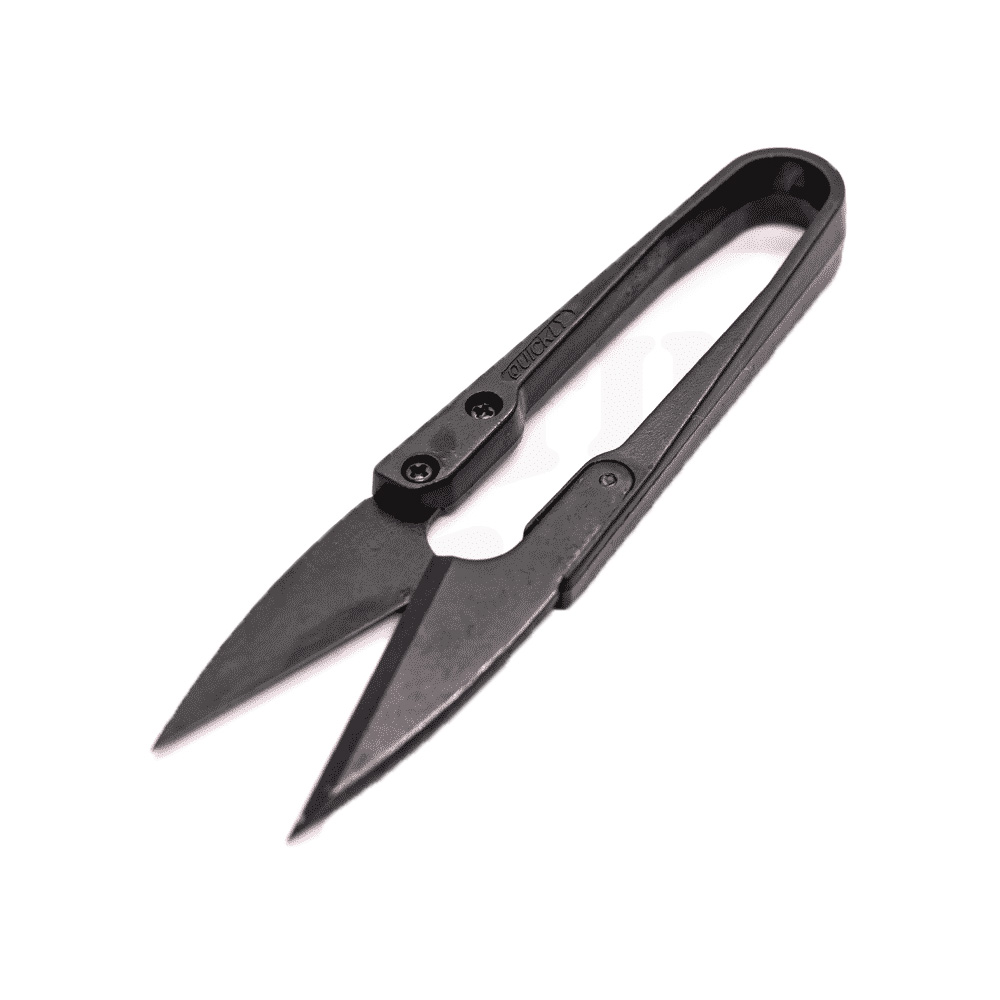 Thread Scissor$3.45
 -
 Loop Threader$1.15


Hello there
do you have any “plans” or mesure to make my own frame ? like the one showed on the picture ?
Thank you for your return
best regrds
Elcie