



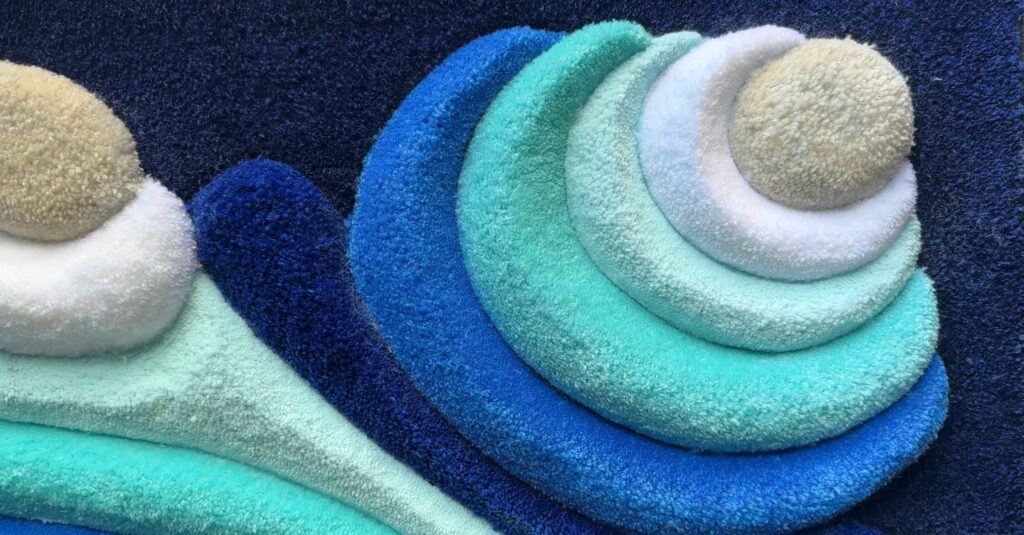
If you’ve seen tufted rugs with rounded, fluffy sections sitting next to tight, smooth areas (moss-like clusters next to a flat “water” ribbon is a common example) and wondered how it’s done, the answer usually surprises beginners: it’s not about using different yarn. It’s about pile height, and it usually takes two guns to do it well.
It’s not the yarn, it’s the height
The fluffy, voluminous look comes from a longer cut pile. The tight, smooth look comes from a shorter cut pile. Tufted at the same height, the same yarn looks completely different depending on how long the pile is left: short pile lies flatter and reads as smooth, while long pile has more material standing up per tuft, which is what gives it that rounded, voluminous look.
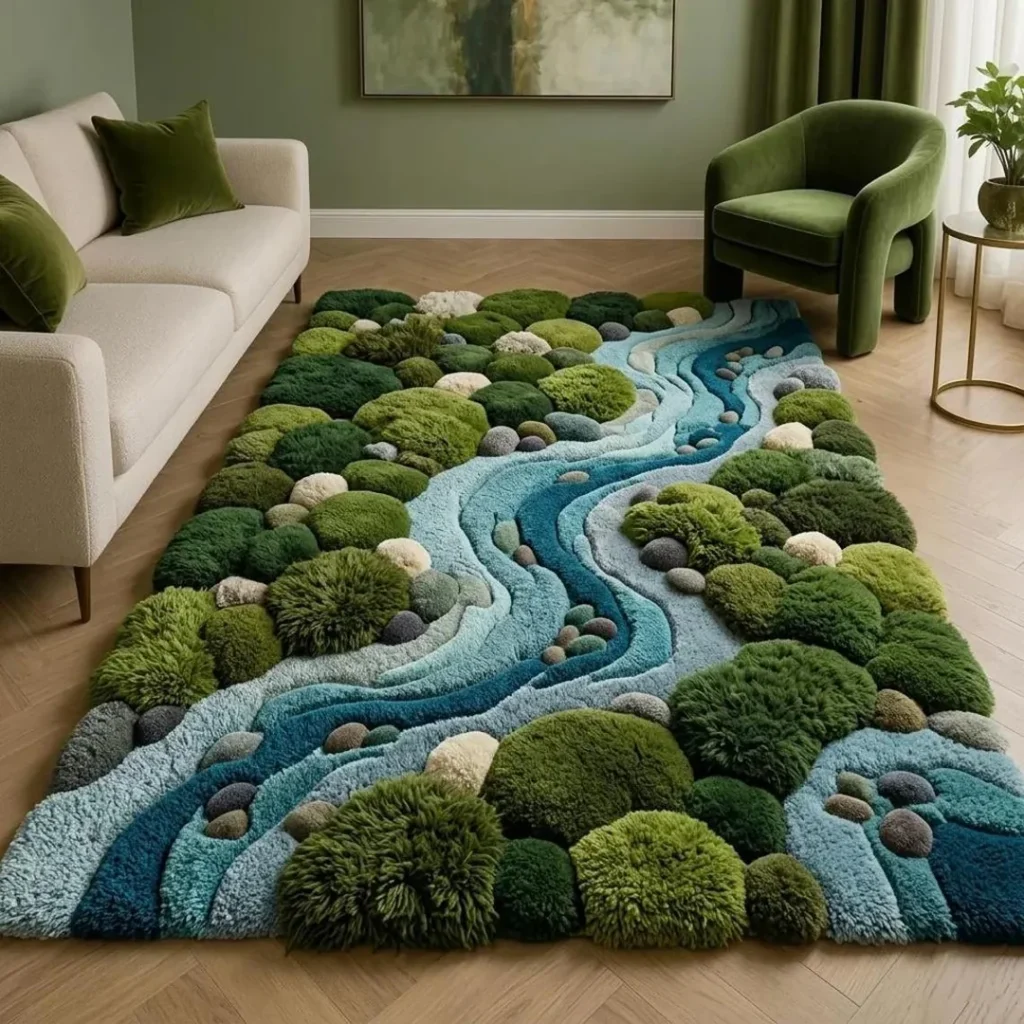
So the contrast in a rug like this isn’t a yarn choice. It’s a pile height choice, applied to different areas of the same design.
Why two guns, not one
You could, in theory, tuft an entire design at one pile height, then go back and readjust a single gun’s height wheel for the next section. In practice, most tufters working this way use two dedicated tufting guns instead: one set to a standard pile height for the smooth areas, and one set to a long pile (our AK-1H long pile tufting gun is fixed at 40mm) for the fluffy areas.
There are a few practical reasons for that:
- No recalibration downtime. Every time you readjust a single gun’s pile height, you lose time, and you risk an inconsistent height if the readjustment isn’t exact. Two guns, each already set correctly, let you switch between them instantly.
- Consistency within a section. A gun that’s been calibrated to one height and left there stays consistent for as long as you’re using it. That matters most in a piece like this, where the “moss” clusters need to look uniformly fluffy against each other, not gradually taller or shorter as your readjustments drift.
- Faster switching for organic designs. Designs where fluffy and smooth areas interweave, rather than sitting in one clean block each, mean switching pile height often. Having both guns in hand at once is simply faster than adjusting one gun back and forth throughout the piece.
Getting started with height contrast
If you’re planning your first design with this kind of contrast, a few things help:
- Plan your height zones before you start tufting. Decide which parts of your design will be short and which will be long, the same way you’d plan colour zones.
- Tuft the short-pile areas first, if your design allows it. It’s generally easier to work a long-pile gun close to an already-finished short-pile area than the other way round.
- Keep your long-pile gun for the “hero” elements. In designs like the moss-and-water example, the long pile does a lot of the visual work. A little long pile goes a long way.
For very fine detail work at the edges where a fluffy section meets a smooth one, some tufters go back afterwards with rug shaving and carving tools to round off the transition by hand. That’s a finishing step rather than the main technique, but it’s worth knowing it exists if you want the cleanest possible edge between height zones.
Off The Frame: what you made, October 2026
Off The Frame: what you made, September 2026
Wool vs Polyester for Tufting – which yarn should you use?
Introducing Ultra-Vivid: Polyester Tufting Yarn
Creating Fluffy, High-Pile Contrast in Your Rugs
How Much Yarn Do I Need for My Tufting Project?
How Much Yarn Do You Need for Tufting Workshops?
Fabio Passeri’s Tibetan Celestial Dragon