



Tufting has grown into a popular home hobby, and for good reason: it’s a fun, tactile craft you can pick up quickly, and many tufters go on to sell their work. This guide draws on what we’ve learned running our own Amsterdam tufting studio, where we’ve taught more than 1,000 workshops to over 5,000 participants: it’s built around what actually trips beginners up, not just theory.
This isn’t just a shopping list. Below you’ll find the gear you need, the full process from blank cloth to finished rug, the mistakes we see most often in our workshops, and answers to the questions beginners ask us most.
The quick way, or the piece-by-piece way
If you’d rather not track down each item separately, our tufting starter kits bundle the core essentials, gun and frame included, into one purchase. It’s the simplest route for a first project, and you can still add specific yarn colours or extra tools on top.
If you want full control over every piece, or you’re building your own frame (see below), buying items individually gives you that flexibility. The rest of this guide covers exactly what to look for either way.
What you’ll need
1. Tufting gun
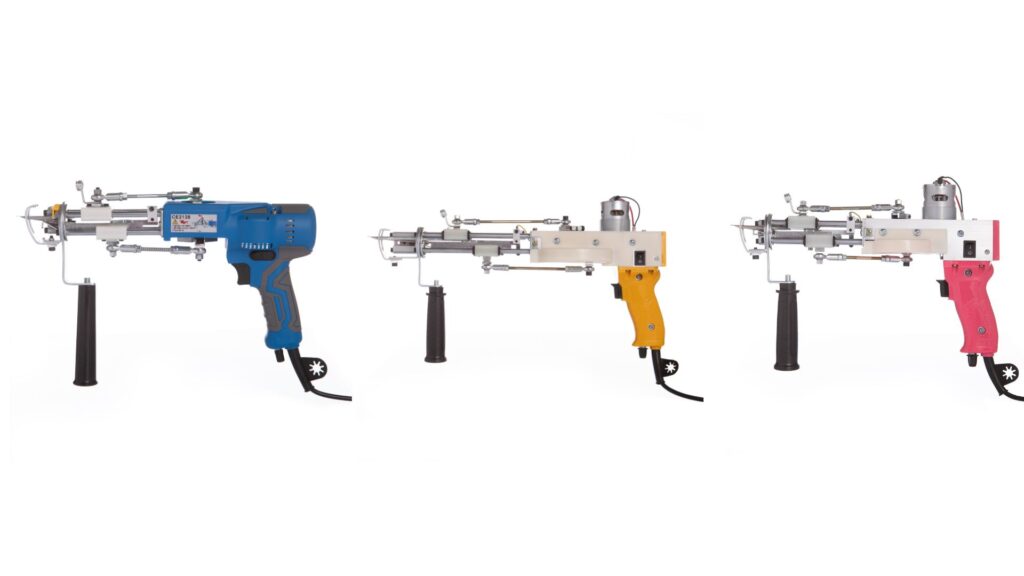
The tufting gun is the core tool: a handheld machine that shoots yarn into your backing cloth to build up the pile.
For most people starting out, we recommend our AK-V. It’s easy to set up, straightforward to maintain, and handles the standard cut pile technique most beginners start with. If you know you want long, fluffy pile from the start, the AK-1H (fixed 40mm long pile) is worth considering instead, and the AK-1N Duo gives you an affordable option as it is an older model.
If your design mixes short and long pile in the same piece, see our guide on creating high-pile contrast, which explains why that usually means working with two guns rather than one.
Proper maintenance keeps a tufting gun running well for years; see our guide on tufting gun maintenance for the basics. The part most likely to need replacing after extended use is the scissors mechanism, as blades dull over time with regular use.
2. Yarn
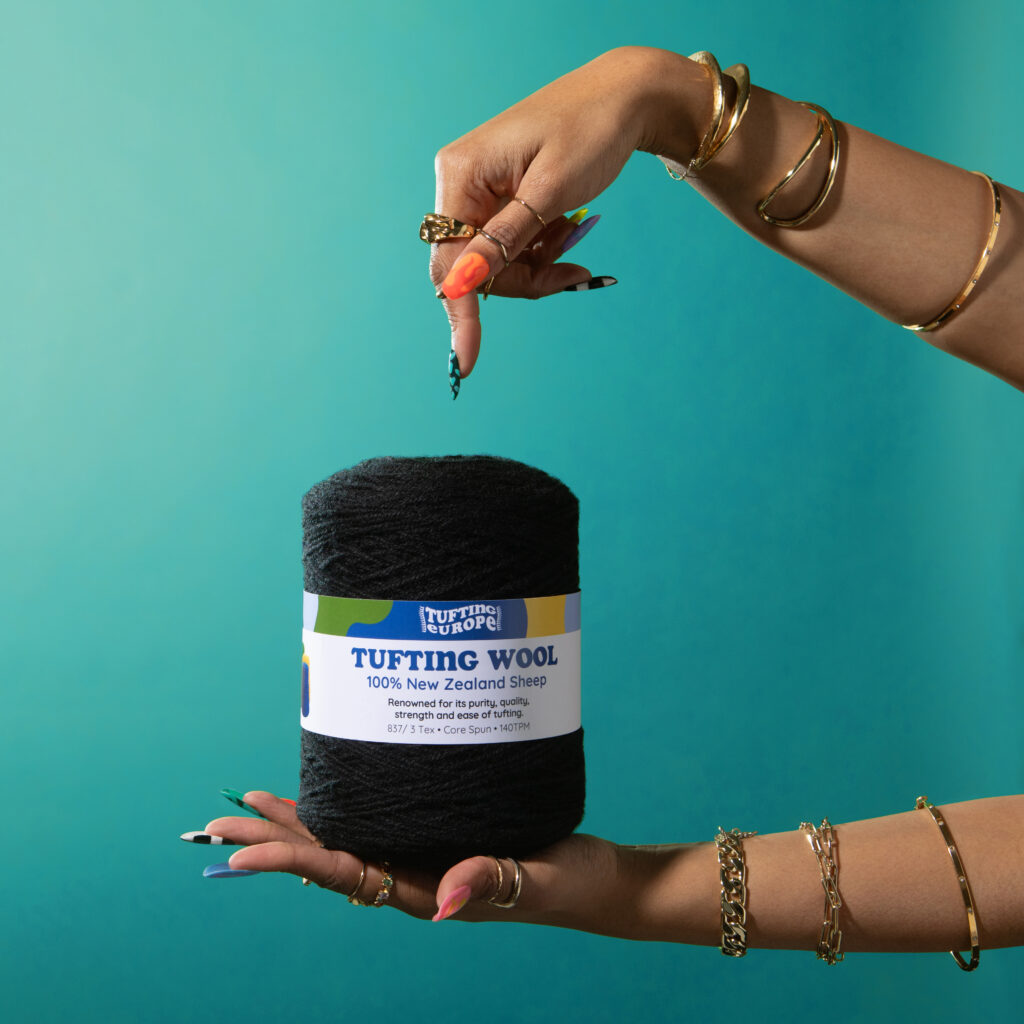
Yarn is the other essential, and we work with two types: wool and polyester.
Wool is a natural fibre with strong durability: it holds its shape well under repeated foot traffic, which makes it a solid choice for floor rugs. Polyester gives you a wider, more vivid colour range and a soft, plush finish, and it also holds up well to regular use. Neither is a “lesser” option; they suit different projects. For a full comparison, see our wool vs polyester guide.
Yarn thickness doesn’t matter much as long as it fits through your tufting gun’s needle. We recommend 3 or 4 ply, using two strands together in the gun at once: this gives the best results and a nicely filled line in your backing cloth. Not sure how much to buy? Use our yarn calculator guide before you order, so you’re not stuck mid-project waiting on a top-up.
3. Frame

You have two options here: buy a frame, or build your own.
Buying a frame is the simpler route, especially for your first project: it’s ready to go, properly braced, and one less thing to figure out while you’re already learning the gun, the cloth, and the yarn. It’s what we’d recommend for most beginners.
Building your own makes sense if you want to go larger than our standard sizes, or if you specifically want a custom size for a particular space. If you do build your own, there aren’t many hard rules, but a few things matter.
Make sure the frame can’t tip backwards: you’ll be pressing into the canvas as you tuft, which puts pressure on the frame, so give it some back support with longer legs or bracing.
We recommend a maximum frame size of around 190x190cm, which gives you a safe margin when using our 200x200cm primary tufting cloth. You can go smaller if space is limited: a 100x100cm frame that sits on a table works well too. Just cut your primary cloth to fit whatever frame size you choose.
Yarn feeding system. Your frame needs a way to feed yarn to your gun without it snagging. An eyelet screw yarn feeding system, mounted at the top or side of your frame, keeps the yarn flowing freely.
Frame grippers. Also known as carpet tack strips, these hold your primary tufting cloth in place on the frame. Mount them along the edges with the needles pointing outward.
4. Primary tufting cloth
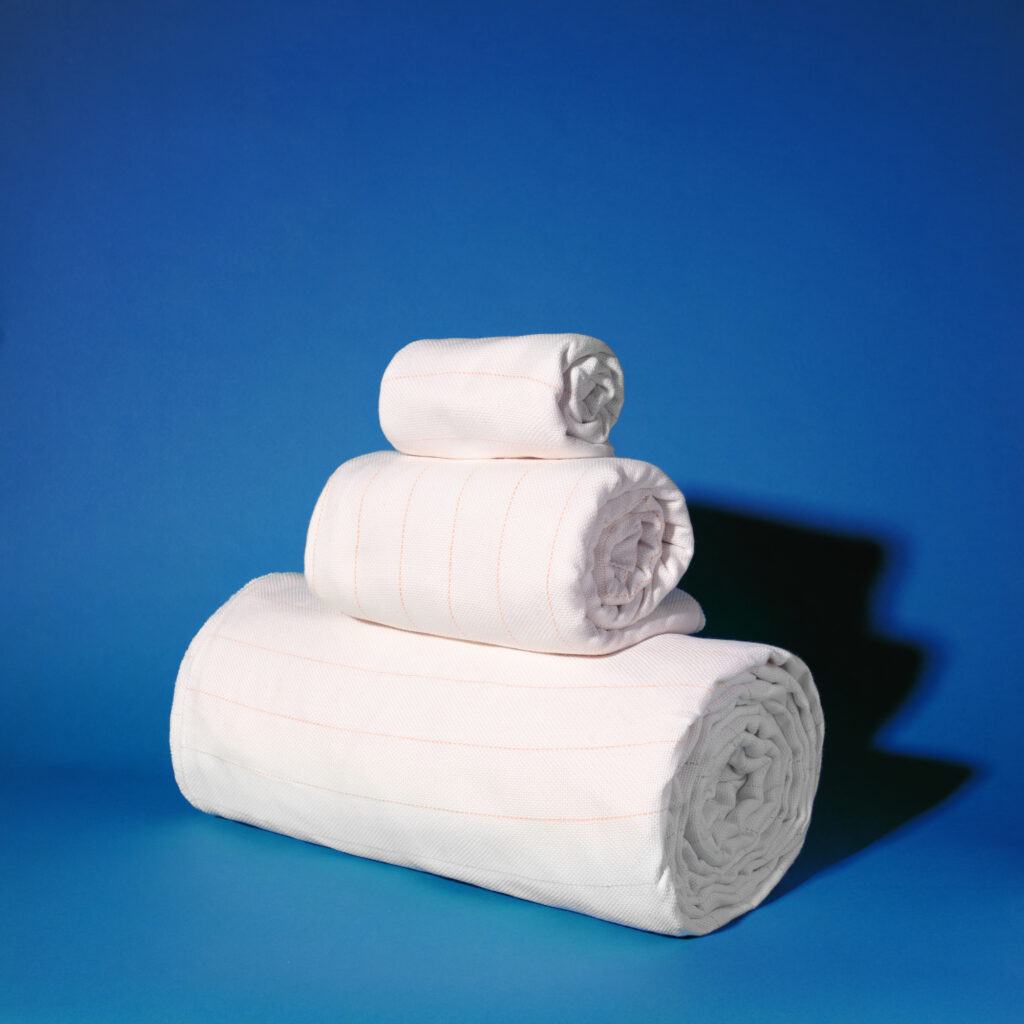
Because tufting guns work fast and with real force, you need backing cloth made specifically for the job. Our primary tufting cloth is designed for this: it stretches evenly and has the right hole size for tufting guns, plus guide lines every 5cm to help keep your design straight. If you want to practise without using proper cloth, cheaper burlap works for that.
When mounting the cloth on your frame, get it tight: tight enough that a coin would bounce off it. It will loosen slightly as you tuft, so re-stretch it after a long session if needed, and check your guide lines are still straight (not curved) afterwards so your design isn’t distorted. If your cloth does tear mid-project, don’t panic: it’s usually fixable without starting over.
5. Rug carving tools
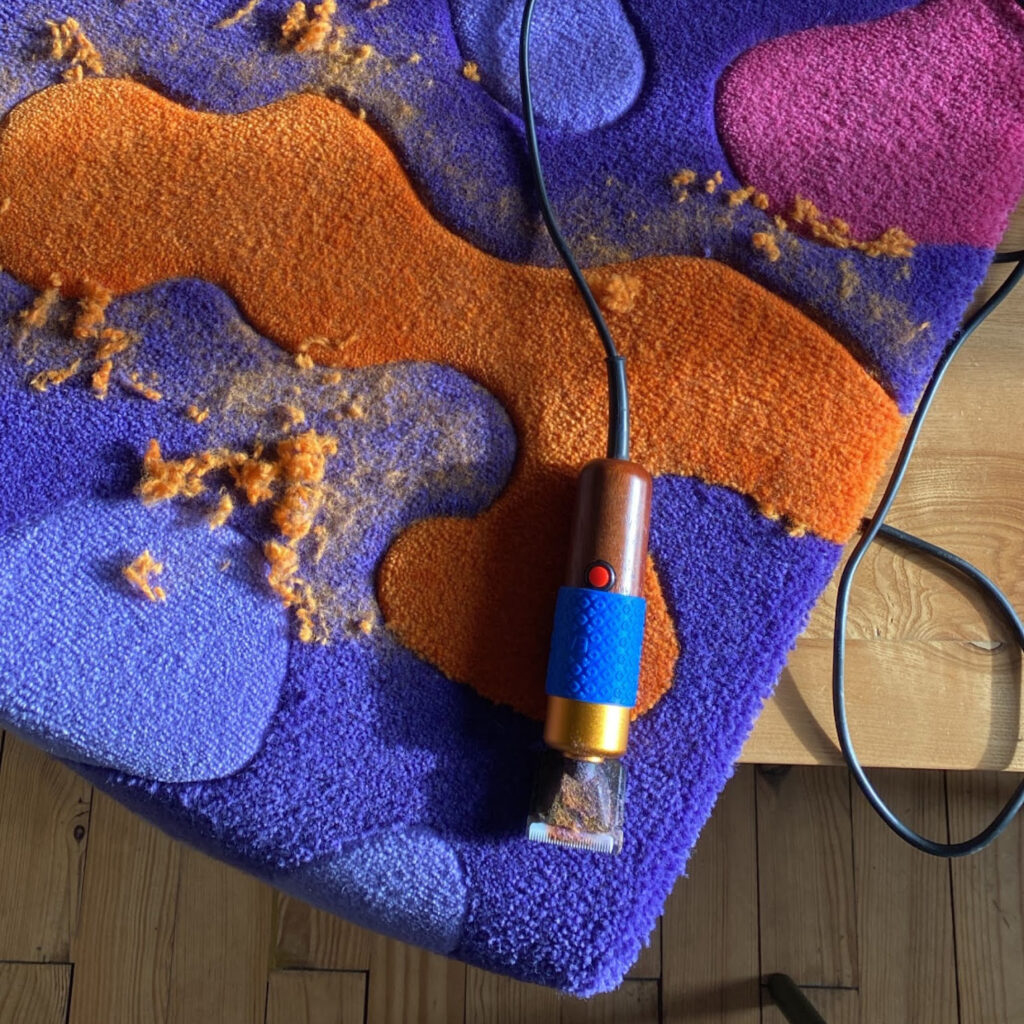
Straight off the frame, a tufted rug looks a little rough around the edges. Carving, where you shave along the lines of your design, gives it depth and sharpens the detail, especially useful for lettering or fine outlines. A general shave afterwards also smooths and levels the whole piece. Both are done with rug shaving and carving clippers.
6. Scissors
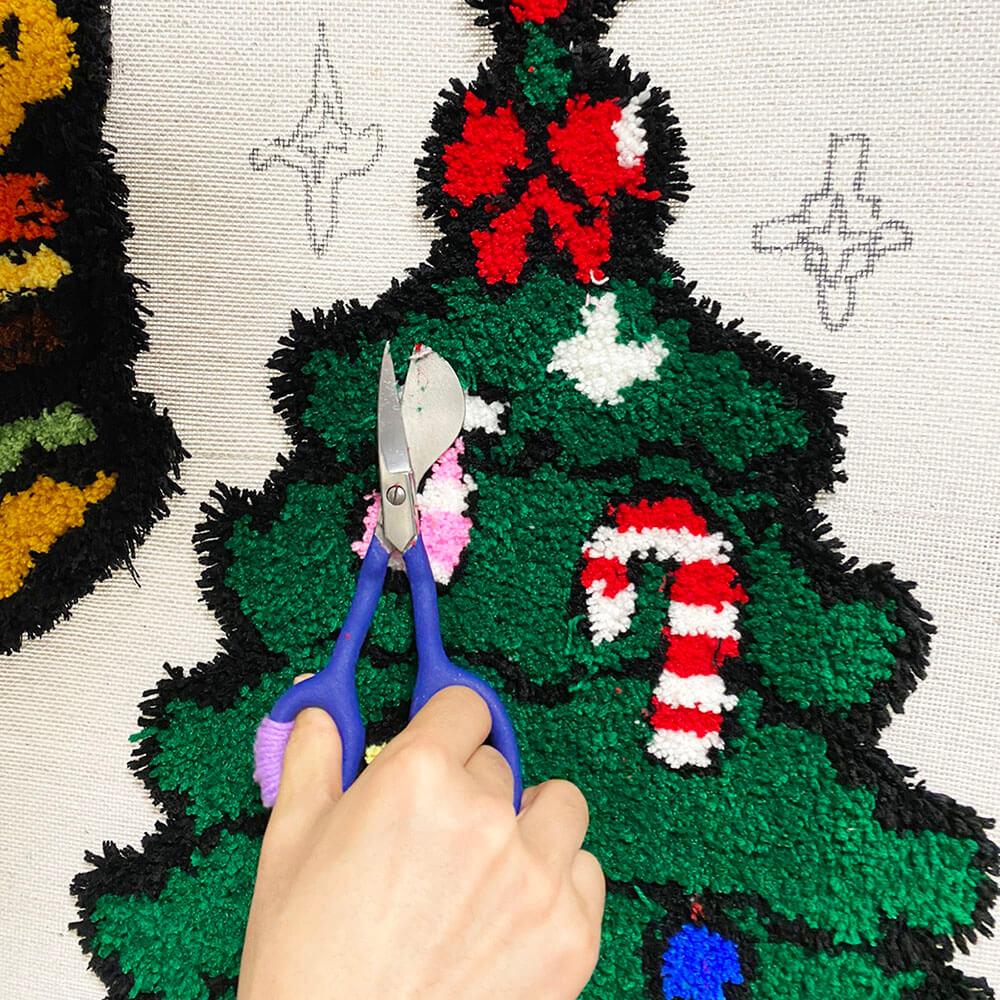
You’ll need scissors for two jobs. First, cutting the finished rug away from the backing cloth: ordinary scissors work fine here, just leave a 1-2cm margin around your design. Second, finishing: for this we recommend duckbill napping shears over regular scissors. Their curved handle keeps your fingers clear of the blade while it stays flat against the surface, which makes it much easier to trim loose ends and even out pile height accurately.
7. Loop threader
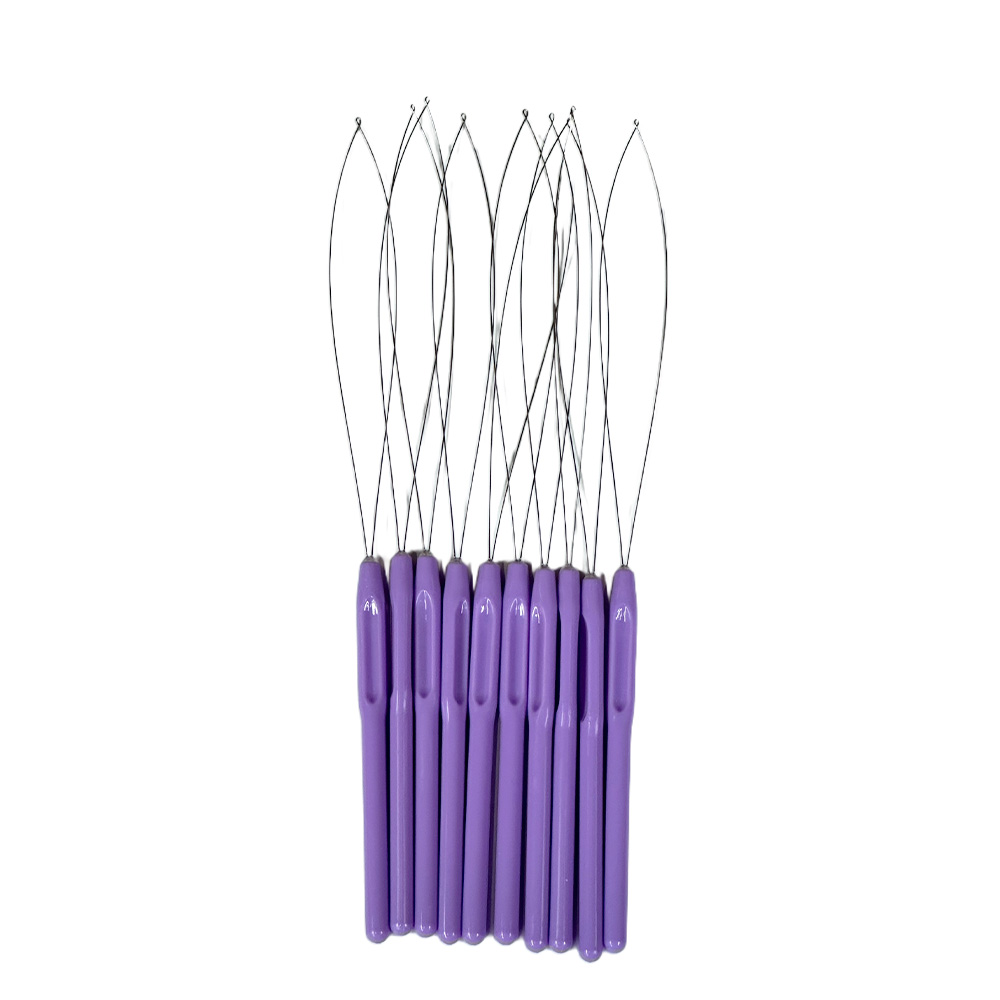
Easy to overlook, but genuinely essential. You need to feed yarn through a small hole at the front of your tufting gun before you start, and a loop threader turns that into a few seconds’ work instead of a fiddly, frustrating one.
8. Carpet glue (latex)
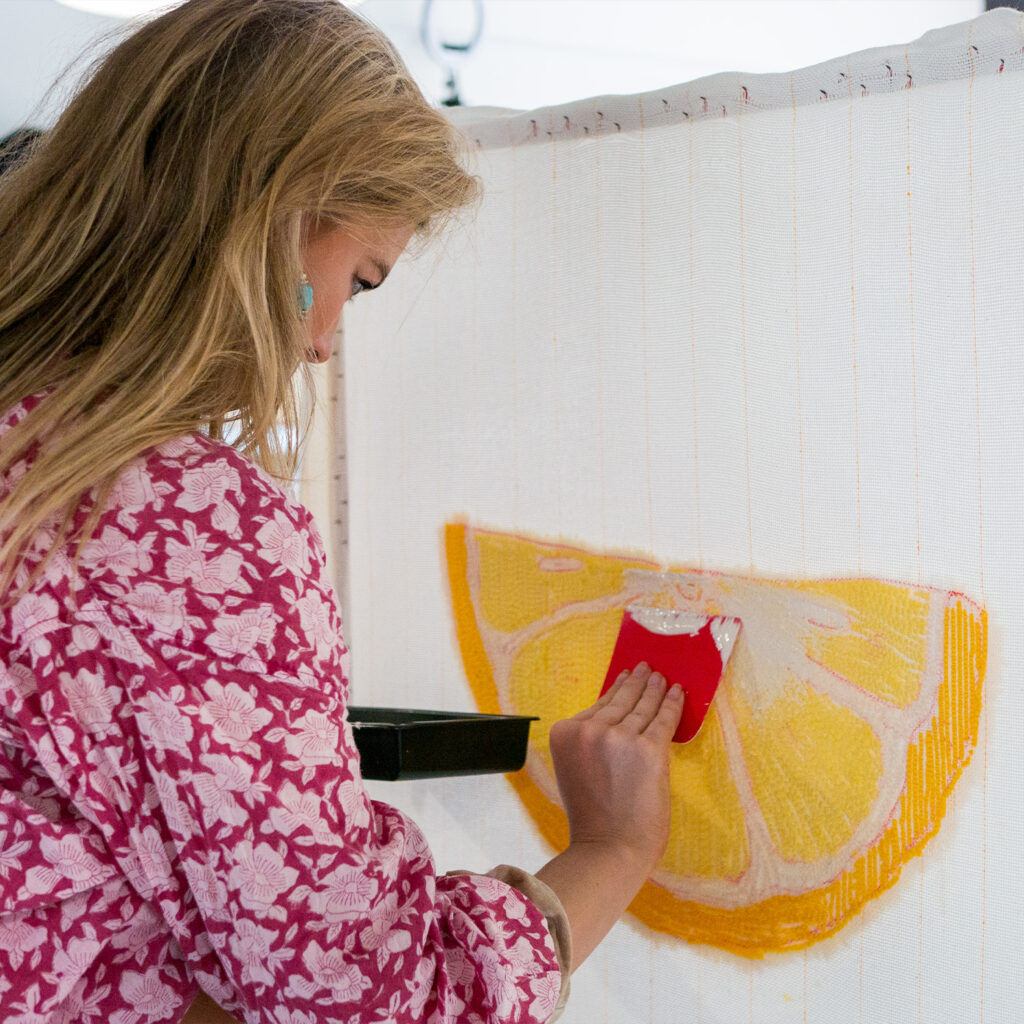
Once you’ve finished tufting, glue the back of the rug, otherwise yarn will pull loose over time. Any standard carpet adhesive or carpet glue works. Glue the rug while it’s still in the frame and the yarn is held in place, and let it dry while still mounted: this stops the rug curling as it dries.
Most adhesives with a latex base work well here, including latex paint, matte medium, PVA-type glues, or dedicated carpet adhesive. If you want a more flexible finish, look for one with a higher latex content.
Carpet glue has a strong smell and some products give off fumes that shouldn’t be inhaled in quantity. Always dry your rug somewhere well ventilated, and read your glue’s safety instructions before you start.
From design to finished rug: the full process
Having the right gear is half the job. Here’s how it comes together, start to finish.
1. Start with your design. Keep your first project simple: bold shapes with clear outlines are far easier to tuft cleanly than fine detail or thin lines. Size your design to fit comfortably within your frame, leaving a margin around the edge.
2. Transfer your design to the cloth. Trace or draw your design directly onto the primary tufting cloth using a marker, using the printed guide lines to keep proportions straight. If you’re working from a printed or projected design, a printer or projector can help you get proportions right before you commit to marker on cloth.
3. Mount and stretch your cloth. Fix the cloth to your frame using your frame grippers, pulling it drum tight in both directions. A loose cloth is one of the most common causes of a wobbly, uneven first rug.
4. Tuft your outline first. Work the outline of each shape in your design before filling it in. This gives you clean, defined edges to fill towards, rather than trying to tuft a straight edge freehand at the end.
5. Fill in your design. Work in one colour at a time where possible, and keep your gun moving at a steady, consistent pace: speeding up or slowing down mid-section is one of the main causes of uneven pile height. If your design mixes cut and loop pile, keep in mind the two techniques look and behave differently, so it’s worth deciding which you want for each area before you start.
6. Carve and shave. Once the whole design is tufted, use your carving clippers to sharpen the edges between shapes, then give the whole piece a general shave to even out the pile.
7. Glue the back. With the rug still mounted in the frame, apply your carpet glue evenly across the back and leave it to dry fully while still on the frame.
8. Cut your rug free. Once the glue is completely dry, cut the rug away from the frame and the surrounding backing cloth, leaving a small margin around your design.
9. Finish the edges. Fold and glue the excess backing cloth margin under, or bind it, so no raw cloth edge is left showing.
Common mistakes we see in our workshops
A handful of issues come up again and again with first-time tufters. Knowing them in advance saves most people from making them at all.
- Cloth that isn’t tight enough. A loose cloth shifts as you work, which distorts your design and makes straight lines wander. If in doubt, re-stretch it before you start rather than partway through.
- Not testing the gun first. Always test your tufting gun’s tension and pile height on a scrap of cloth before starting your actual project. It takes two minutes and avoids finding out something’s off partway through a design.
- Rushing the fill-in stage. Moving the gun too fast, or at an inconsistent speed, is the single biggest cause of patchy, uneven pile. Slow and steady beats fast and messy every time.
- Underestimating how much yarn you need. Running out mid-colour means a second order and a delay, plus a small risk of a slightly different dye lot. Calculate your yarn needs before you start.
- Cutting the rug out before the glue is fully dry. This is the most common cause of yarn pulling loose later. Be patient here, even though it’s tempting to see the finished piece as soon as possible.
- Mixing pile heights without planning ahead. It’s a striking effect when done deliberately, but a mess when it happens by accident from an inconsistent gun setting. Plan your height zones the same way you’d plan your colours.
Frequently asked questions
How long does a first rug take to make? It depends heavily on size and design complexity, but budget more time than you’d expect: the fill-in stage is the slowest part, and rushing it is exactly what causes the most common mistakes above.
Do I need to build my own frame, or can I buy one? Either works. Buying is the simpler route for most beginners: it’s ready to go and one less thing to figure out. Building your own is worth it if you want to go larger than standard sizes, or need a custom fit for your space.
What if my backing cloth tears while I’m tufting? It’s fixable in most cases without starting over.
Should beginners start with wool or polyester yarn? Both are beginner-friendly. It’s more a question of the look and feel you want for your project than skill level; see our wool vs polyester guide for the differences.
How much yarn do I actually need for my first project? It depends on your rug’s size and pile type. Use our yarn calculator guide to work out a rough figure before you order.
Do I need two tufting guns to get started? No. One gun is enough for a first project, especially if you’re sticking to a single pile height. Two guns become useful once you want pile height contrast within one design; see creating high-pile contrast for why.
What’s next
Once your first rug is finished, our guide on caring for a hand-tufted wool rug covers cleaning and maintenance so it stays looking good. And if you’re already planning project two, our wool vs polyester and yarn calculator guides are the natural next stops.
Ready to get started? Shop starter kits or tufting guns.
Hello there
do you have any “plans” or mesure to make my own frame ? like the one showed on the picture ?
Thank you for your return
best regrds
Elcie